Fuelling Your Business Growth With Online Lead Generation
Google Ads, Facebook Ads, & High Converting Web Design
What You Can Expect From Us…
- Lower outgoing costs
- Same day support
- Full transparency
- Increased lead flow
- Complete in-house team
- Increased conversion rates
Need Help?
Need a Specialist Team to Handle Your Online Lead Generation ?
Fuelling Your Business Growth With
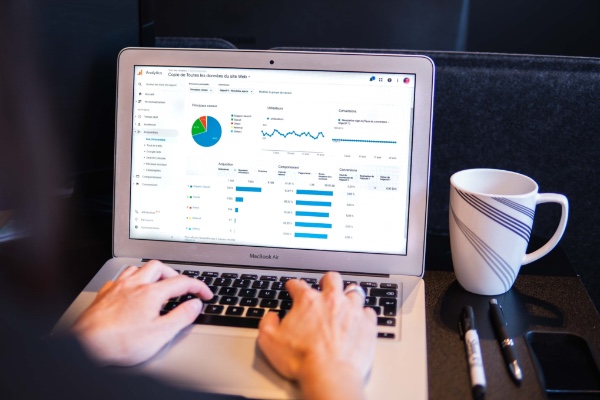
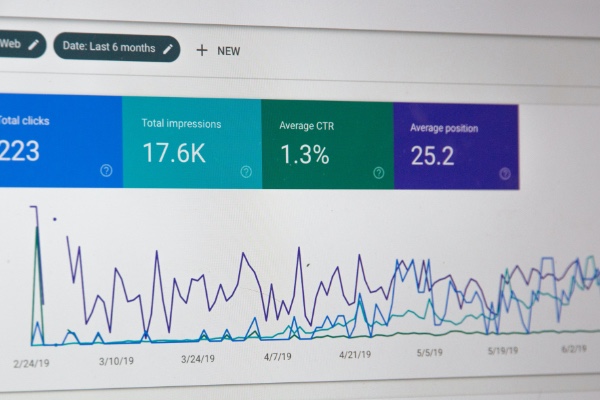

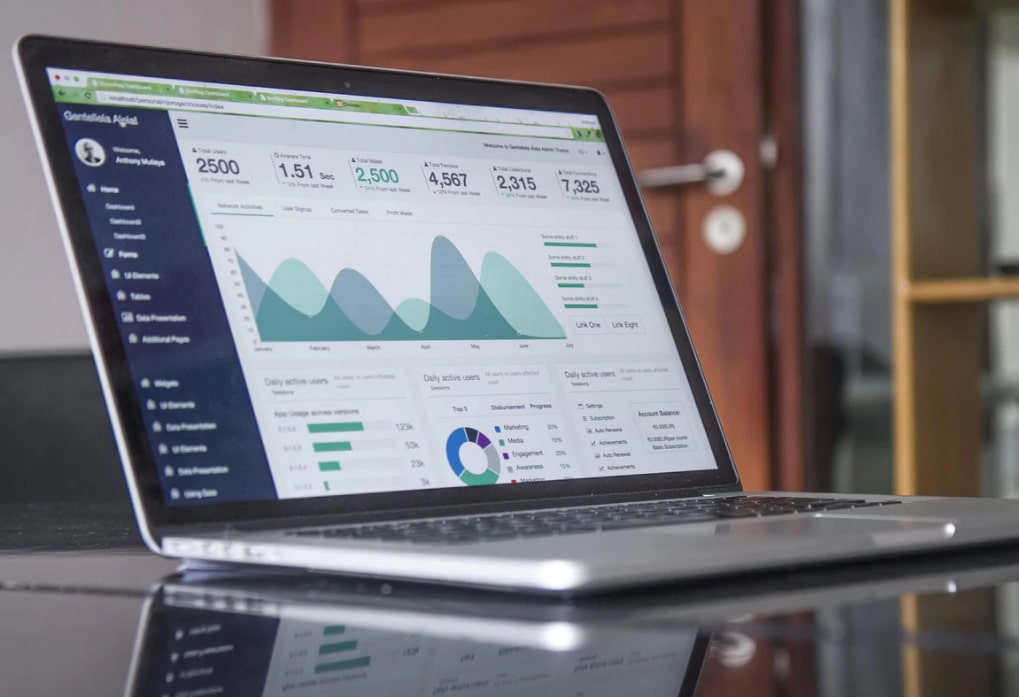
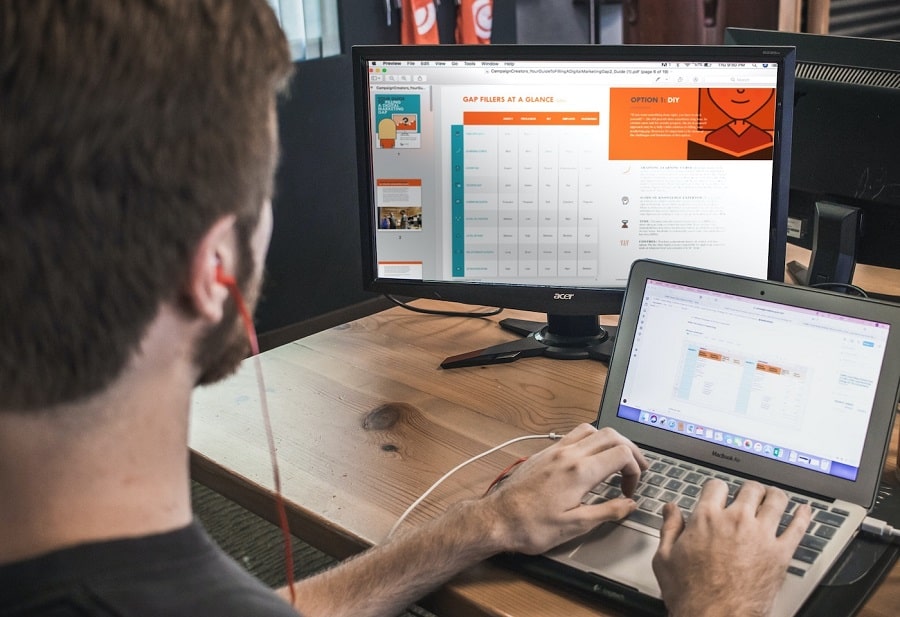
View a Selection of Our Recent Marketing Projects
A Digital Agency Trusted by
Australian Business Big and Small


See What Others Have
To Say About Us
We were looking for a basic website that would tick the boxes and not cost a fortune. We got a whole lot more than we bargained for when we contacted Clint at Altitude Media. I called 3 companies that do websites in WA and after a few minutes on the phone with Clint I knew that Altitude was the one we should deal with. They also ended up being the most cost effective. They are a well mannered and professional team and I would strongly recommend them to anyone looking for a quality website.

George McMurtry
08:01 14 Jan 21
Clint is excellent to work with.

Zil Yassine
19:58 15 Dec 20
Choosing the right media company for my business was quite daunting at first, with so many different business out there it was hard to find a company I could trust with the new website deign and marketing of my business.As an electrical contractors Clint and his team really helped my business stand out from the rest. Clint help guide my ideas into a reality and really produced a fantastic website I am proud of.Would highly recommend Altitude media.Thanks again Clint

Giuliano Pirone
11:16 09 Jul 20
Through my management consultancy Franchise Australia, I have enjoyed working with Clint Maher of Altitude Media for near on five years. In that time I have introduced him to many of my clients and business colleagues, each of whom have been, and continue to be very happy with the service and value they receive. Clint makes it easy for business owners when, in this digital world, things can appear complex and difficult. I will not hesitate to recommend Clint to my future clients.

John JB Brown
23:43 08 Jun 19
Clint is amazing - very professional and knows internet marketing backwards. Highly recommend been using him for years.

Nick Rieper
05:58 20 Mar 19

About
Altitude Media
Since 2008 Altitude Media has been at the forefront of Digital Marketing and delivering hard-hitting results for our client base. With our head office in Perth, we service clients Australia wide.
You will experience same day client support, courteous team members, and professionalism at every touch point when you partner with Altitude Media. We guarantee it 100%.